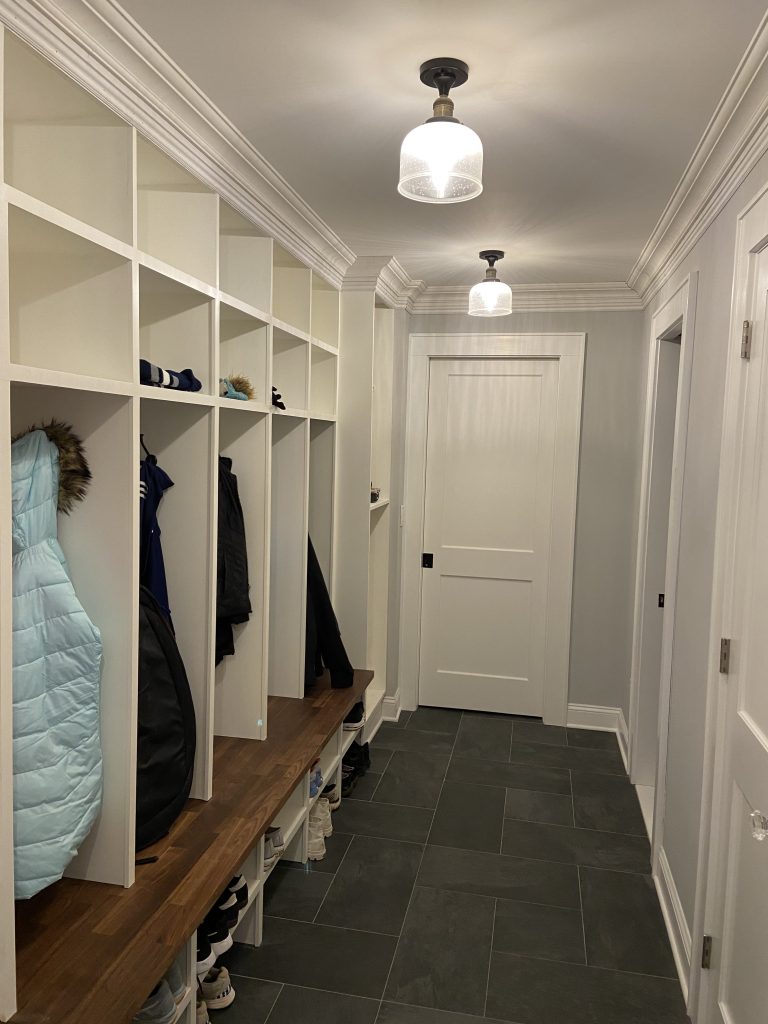
Our remodeled home included a mudroom and I was tasked to build the fancy hall trees that would store all our kids shoes, jackets and stuff. I am a member of the Wood Whisperer Guild and loved their design and construction techniques.
Design
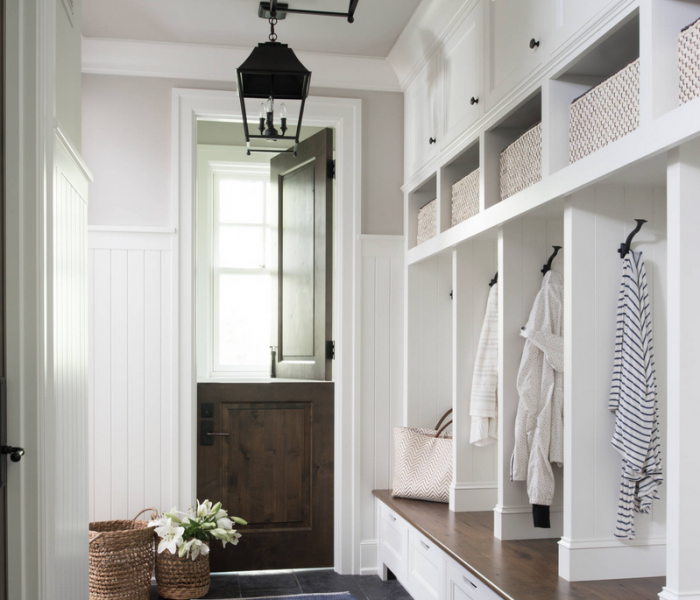
I was inspired by designs like this.
Designing and building things parametrically in AutoDesk Fusion 360 has been a game changer for me, but this one was tricky since I wanted the start and end of the hall tree to include the width of the ply.
In order to make the width between the front facing the same, I had to do some math because the first and last boards were flush to the ends. The first and last cubby interior width is a and the middle widths is b. This is where a little math made the design a lot more clear and where the real cabinetry pros get confused. Hey! I’m an engineer not a carpenter without years of experience to just do this stuff.
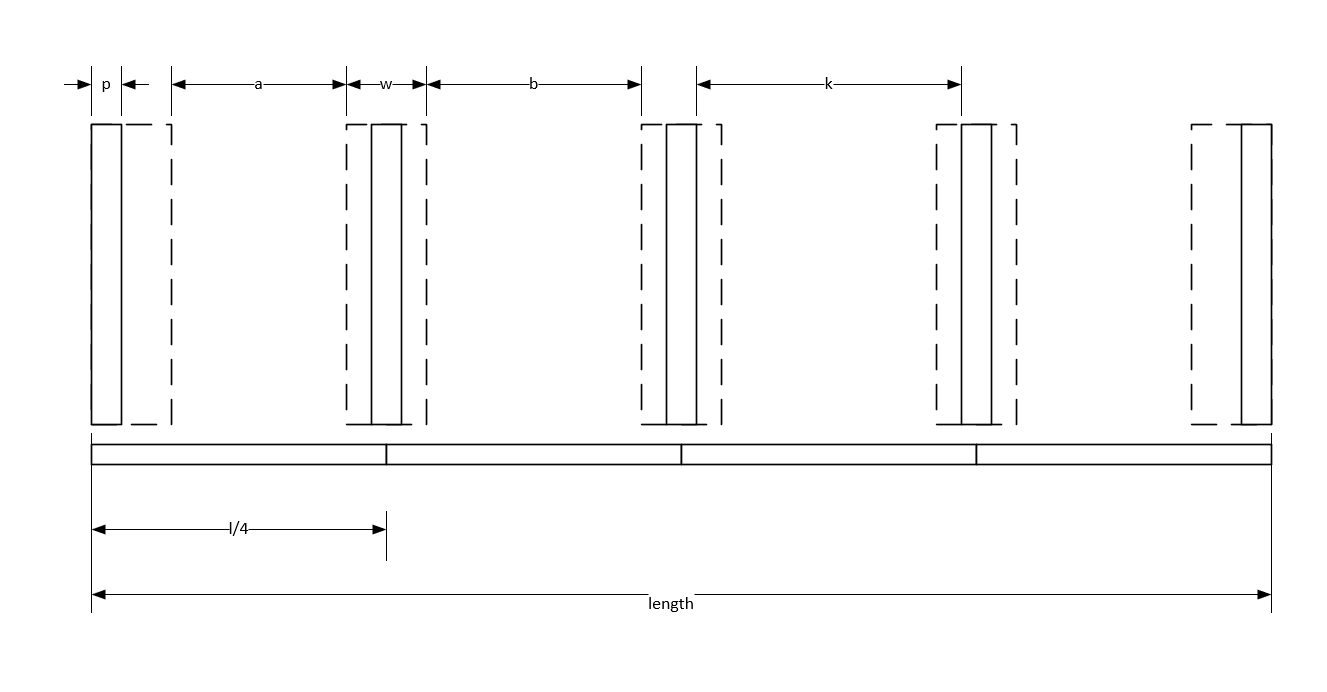
$$ a = \frac{1}{4} (l – 6\, w) \; \text{and} \; b = \frac{1}{4} (l – 4 \,w) \; \text{and} \; k = \frac{l}{4} – \frac{3}{2}\,p$$
Or more generally:
$$b = \frac{l}{n} – w \; \text{and} \; a = \frac{l}{n} – \frac{3\,w}{2}$$
where n is the number of bins. We explored 4, 5, 6 to figure out what best used the space.
First, I needed to design five cubbies with equal width. I love building things, but use stock pieces and don’t have the time to glue up countertops or make faceframes. Because of this, I built this on top of an Ikea Karlby countertop (Article no: 703.352.12) which is super straight, low cost and beautiful. I played with the design to optimze the cutouts from 4×8 sheet of three quarter inch plywood. As an aside, I get my grade A or B plywood from Huston Lumber. The Home Depot stuff has a thin veneer and risks delaminating and is a lower version of grade C.
The final design resulted from lots of discussions in the space.
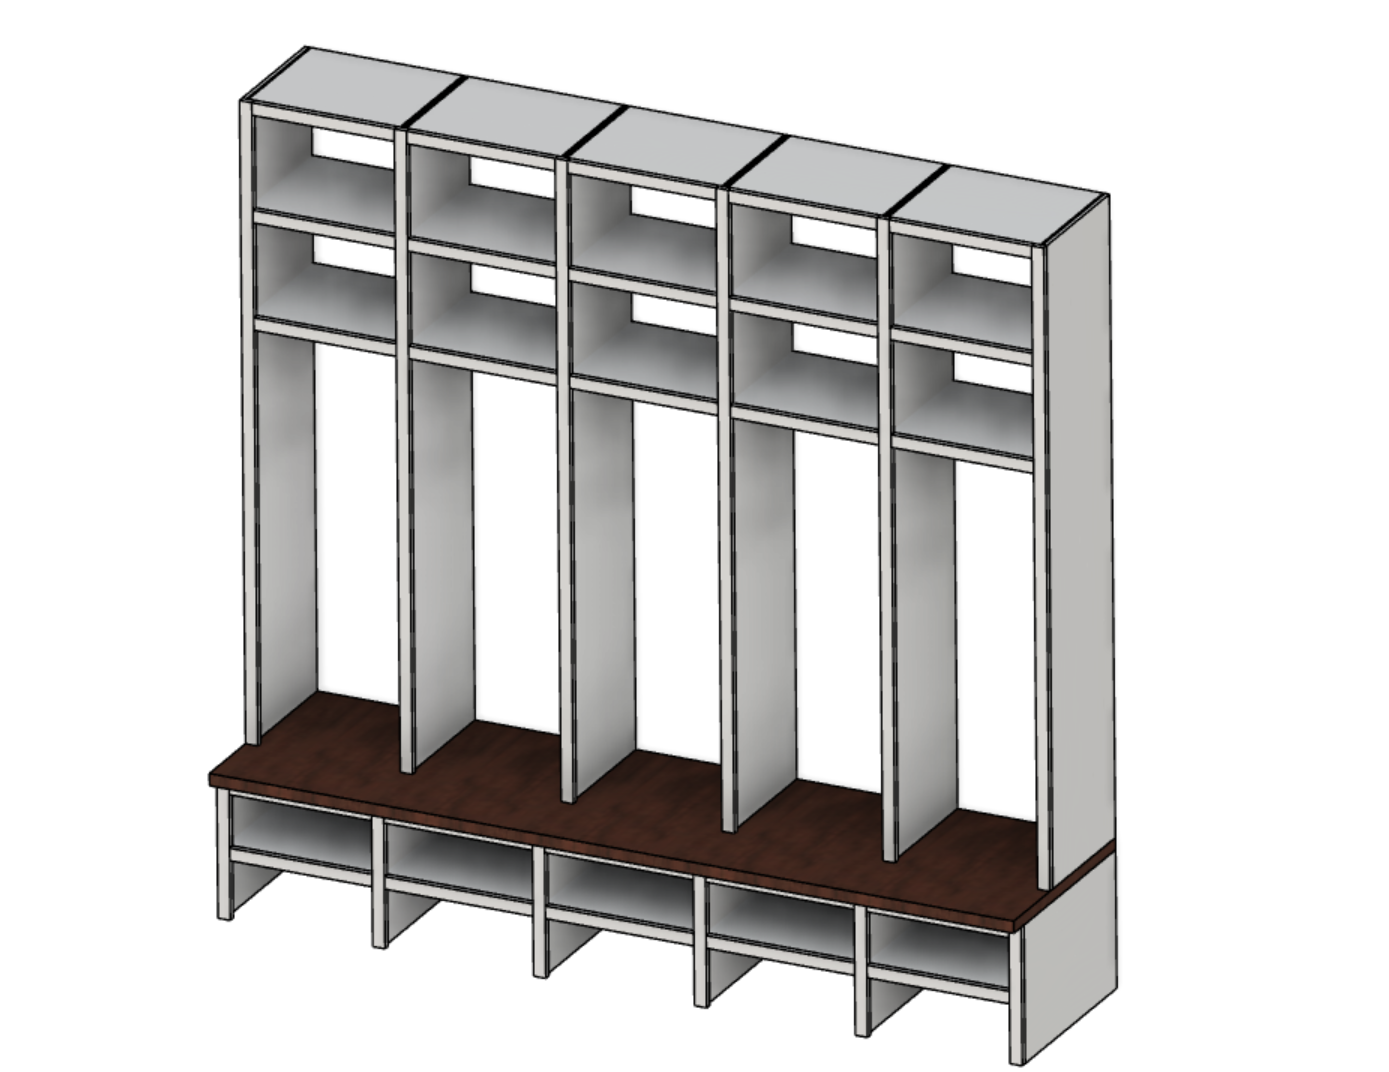
And used the following parameters. Calculating parameters made the design a lot easier to build.
| Parameter | Unit | Value | |
|---|---|---|---|
| room_length | m | 3.068 m | |
| room_height | m | 2.5 m – 9 cm | |
| ply | mm | 19 mm | |
| countertop_height | mm | 37 mm | |
| countertop_depth | mm | 650 mm | |
| cabinet_width | mm | 575 mm | |
| cubbies_length | mm | room_length – cabinet_width | |
| cubby_depth | mm | 400 mm | |
| base_cubby_depth | mm | 0.9 * countertop_depth | |
| dado | mm | 6 mm | |
| facing_width | mm | 1.5 in | |
| facing_ply | mm | ply | |
| a | mm | ( cubbies_length / n ) – ( 3 * facing_width ) / 2 | |
| b | mm | cubbies_length / n – facing_width | |
| k | mm | ( 1 / n ) * ( cubbies_length – n * ply ) | |
| base_cubby_height | m | 18 in – countertop_height | |
| top_cubby_height | mm | room_height – countertop_height – base_cubby_height | |
| shelf_width | mm | k + dado * 2 | |
| cubby_height | mm | 1300 mm | |
| len | mm | cubbies_length / n | |
| n | 5 |
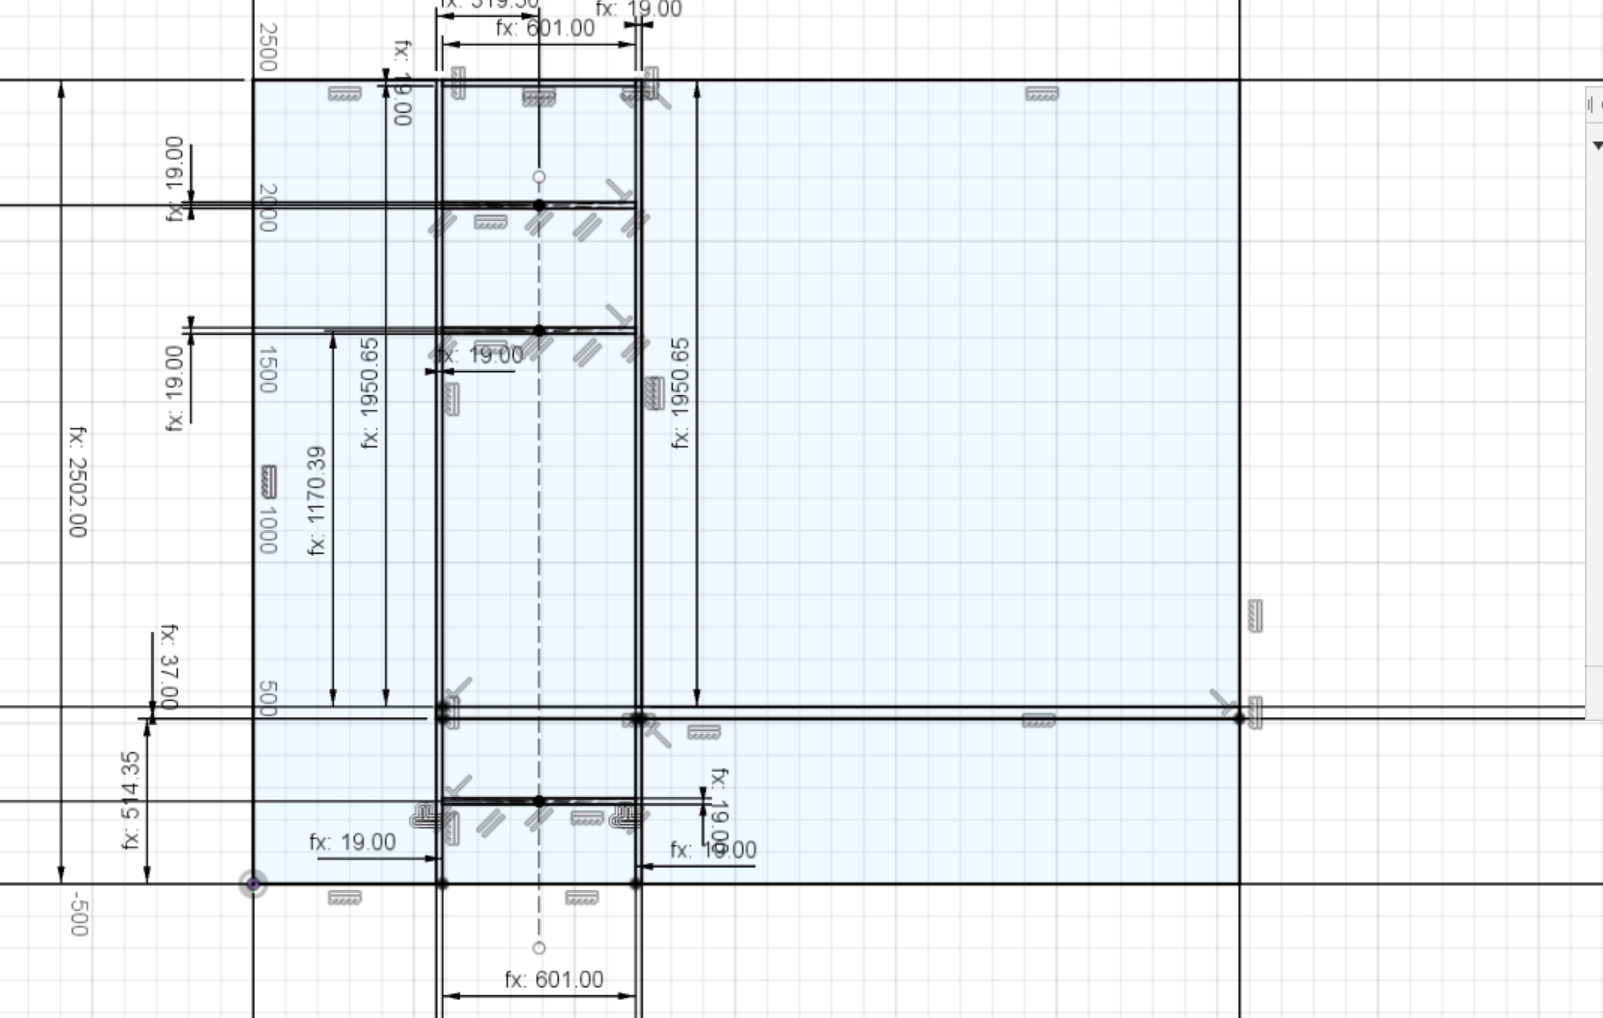
I used the parametric features pretty extensively, basing everything off of fractions of the the total shelf length and room height.
The heart of fusion 360 is the sketch. By fixing the sketch and understanding the timeline, its possible to break down the design into a set of modular components that help you keep complex designs under control.
From there, I was able to use mapboards pro to get a cutlist, which I uploaded to cutlist optimizer to produce a fairly optimized design that efficently used three sheets.
Overall, fusion 360 estimates the total weight as 172 Kg, which is probably accurate with the long walnut countertop. I was planning on doing a stress analysis on the design, but I’m saving that for a future project.
Manufacture
After understanding my design, I primed everything with BIN primer that sprays on easily using my HVLP Harbor Freight gun. I use Harbor Freight guns for BIN because the cleanup is easy and I can frequently replace the gun. Since I sand the primer, the finish matters a lot less. For finish work, I use my FujiSpray MiniMite.
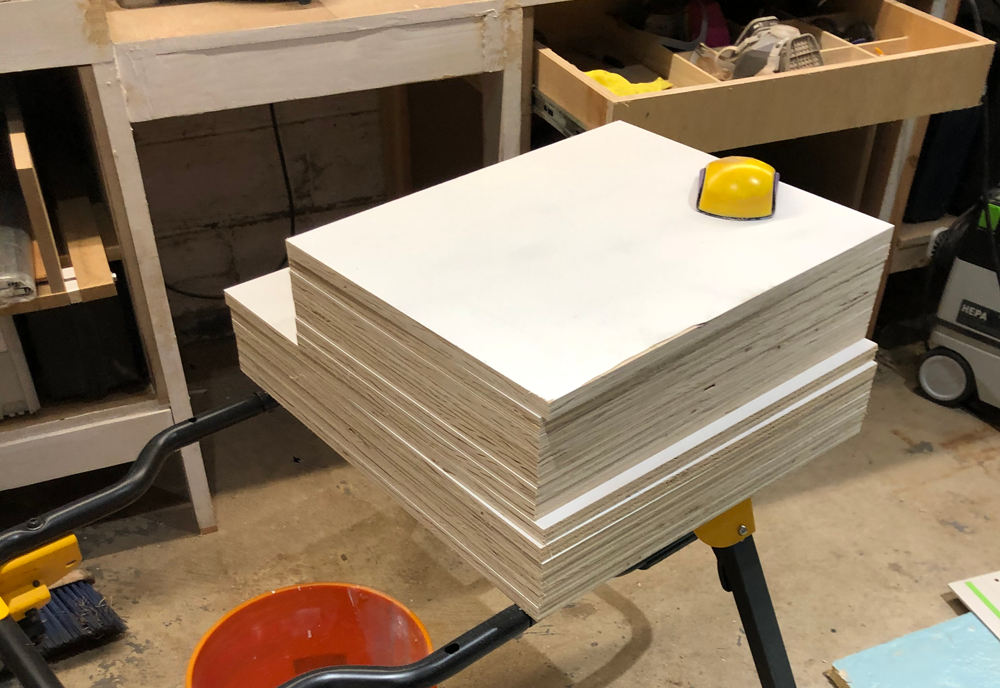
After priming, I used my Festool TS55 track saw to cut down the sheets. To make everything accurate, I made two jigs using 1/4 inch thick plywood and Starbond CA Glue. Reading up on ETHYL CYANOACRYLATE is recommended. It’s pretty cool.
This let me back super accurate cuts without needing to move big sheets of plywood on the table saw.
After the pieces were cut, I went back to the model to update the dimensions I actually cut, which at my current skill level is around \(1 \pm \text{mm} \). In order to get everything consistent, I use the table saw to cut things down to equal dimensions and ensure everything is square.
| Dimension | Value (mm) | My Value |
|---|---|---|
| Shelf Width (a) | 482.1 | 481 |
| Shelf Width (b) | 491.6 | 492 |
| Top Depth | 400 | 399 |
| Base Depth | 585 | 582.5 |
| Vertical Side Height | 1952.8 | 1953 |
| Base Height | 420.2 | 419 |
| Ply | 19 | 18.67 |
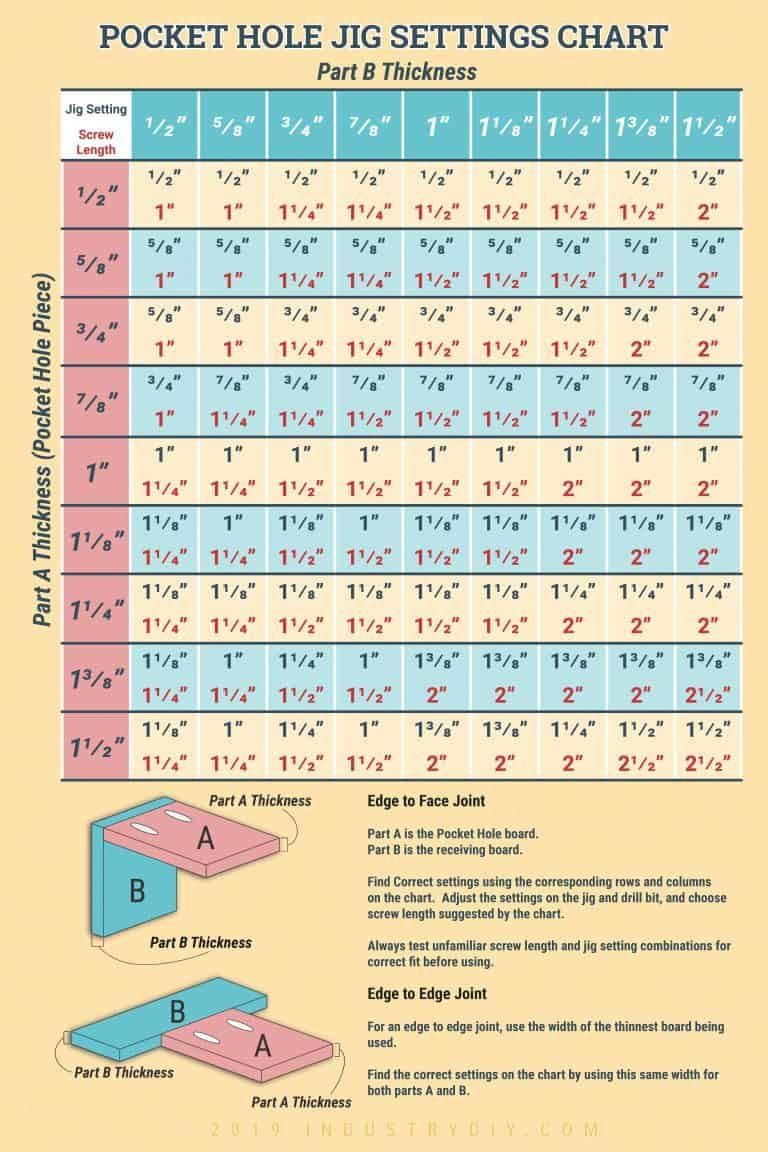
Pocket Holes
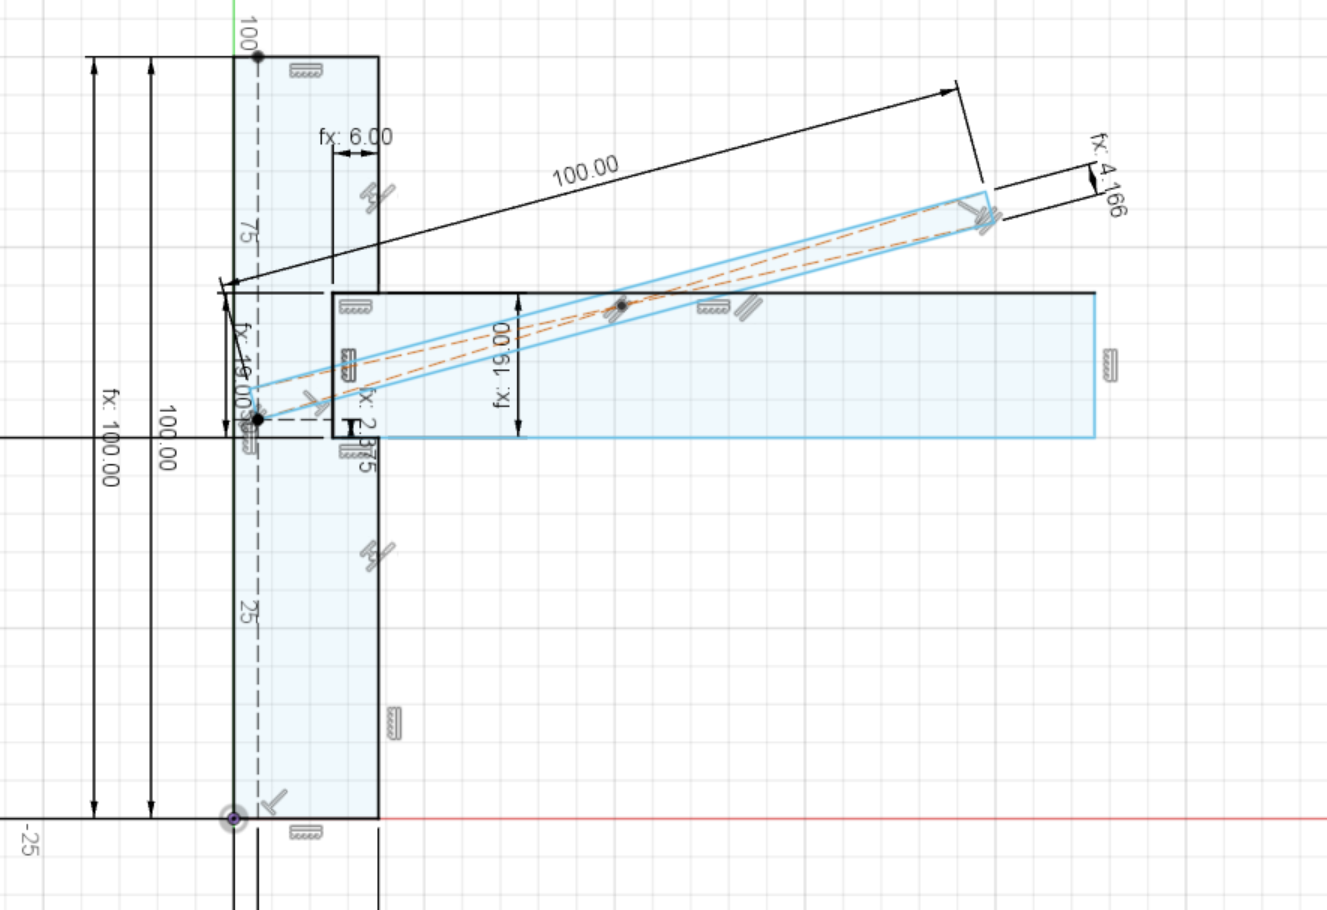
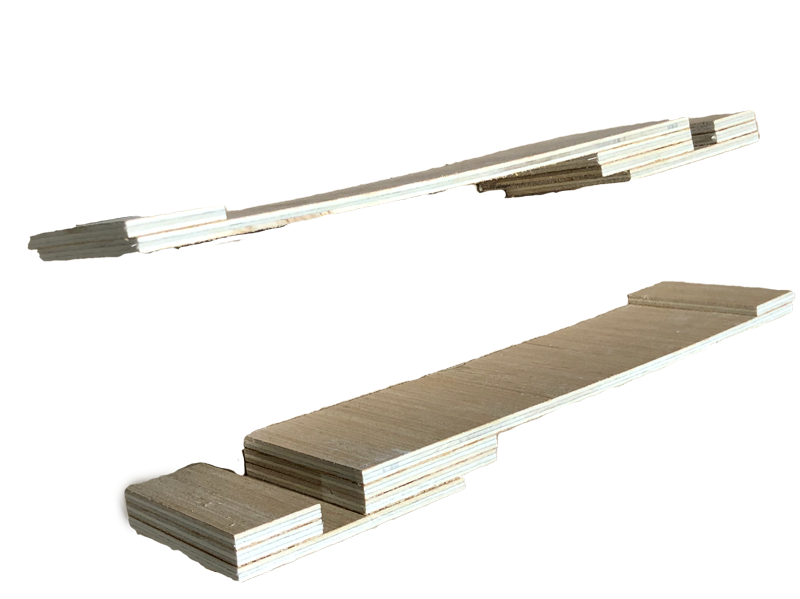
I had to figure out how deep to cut the pocket hole with the 6mm dado. After building a drawing, it made sense to set the depth of the jig to \(\frac{5}{8}\).
For myself and others, I saved the chart I use here for depth and screw length selection.
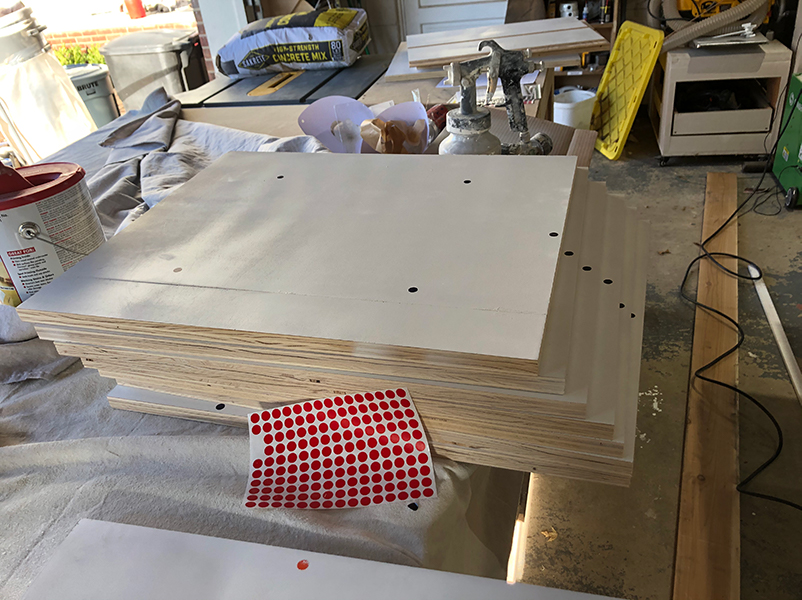
I used stickers to make sure the screws from my pilot holes wouldn’t bump into each other.
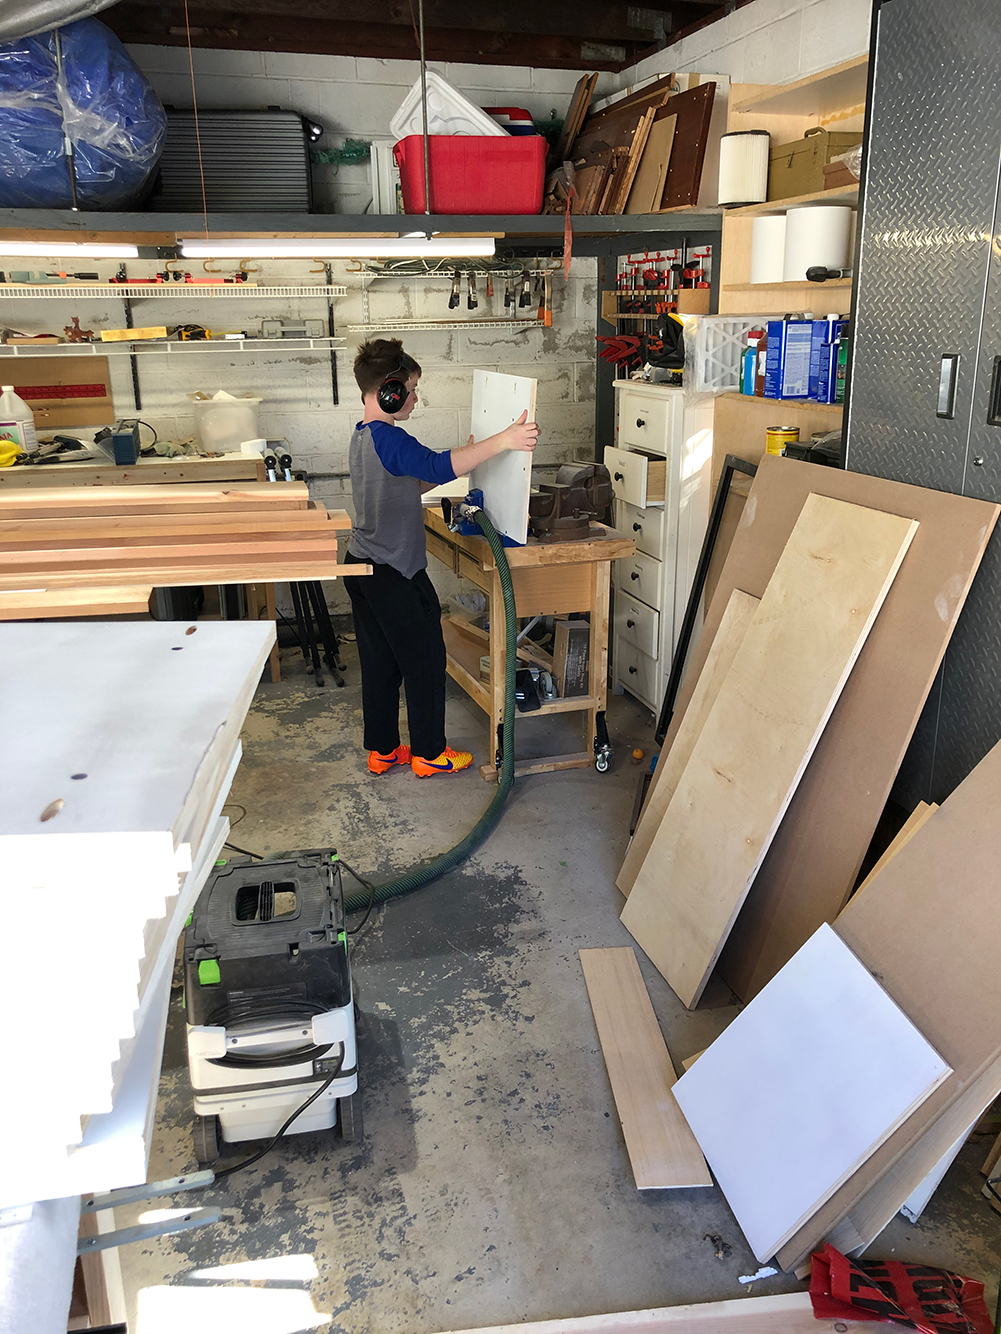
I had a great helper to help me drill the pocket holes.
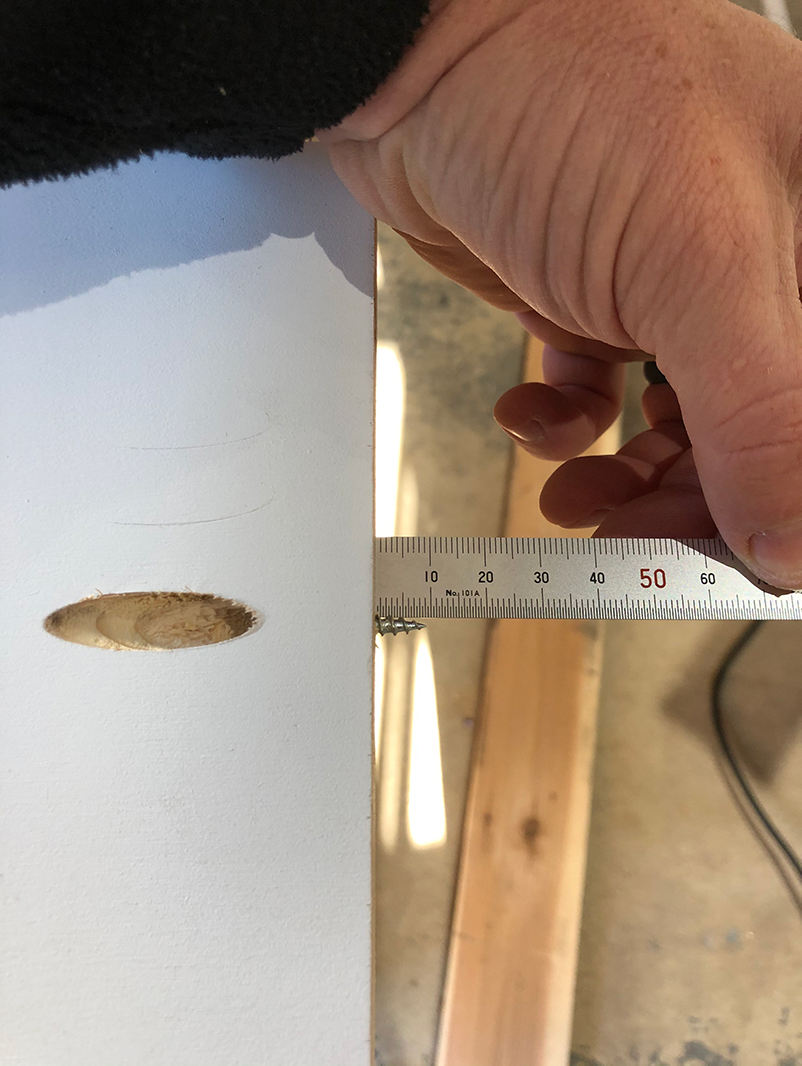
I measured the pocket hole screw to make sure I wouldn’t cut through the other side.
Assembly
I decided on which components I wanted to manufacture. Also during this time, I realized that I’m going to need a back to add strength to the overall design.

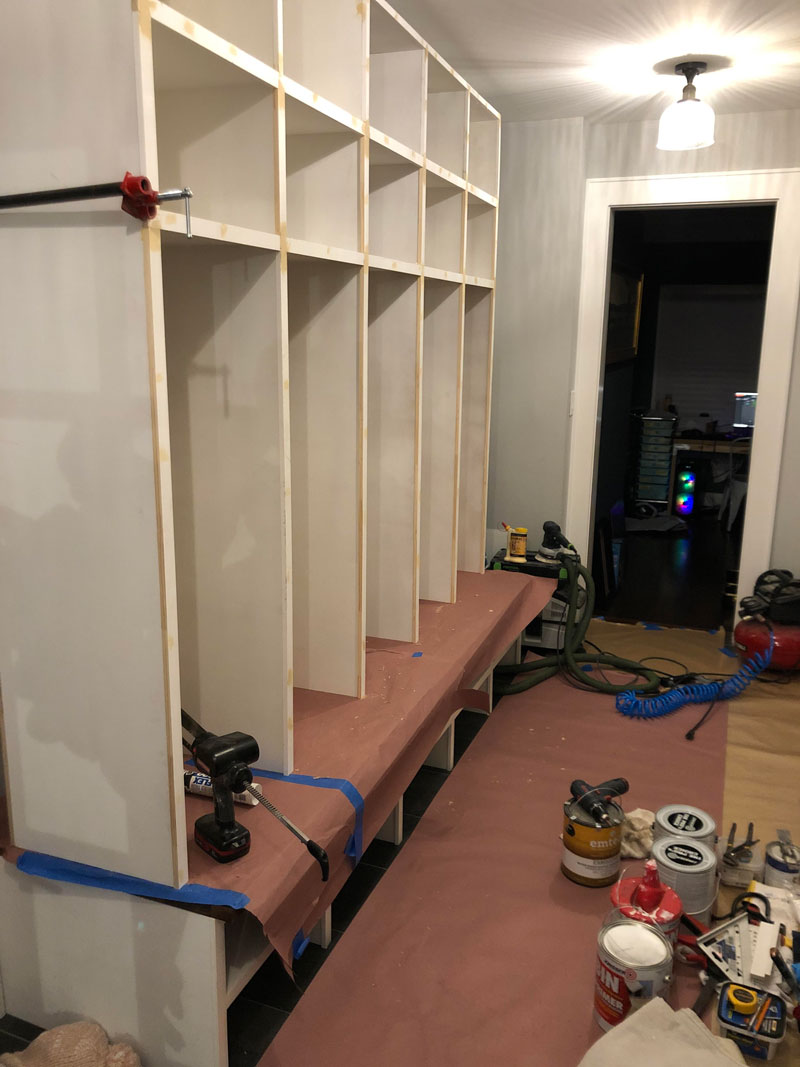
Finishing
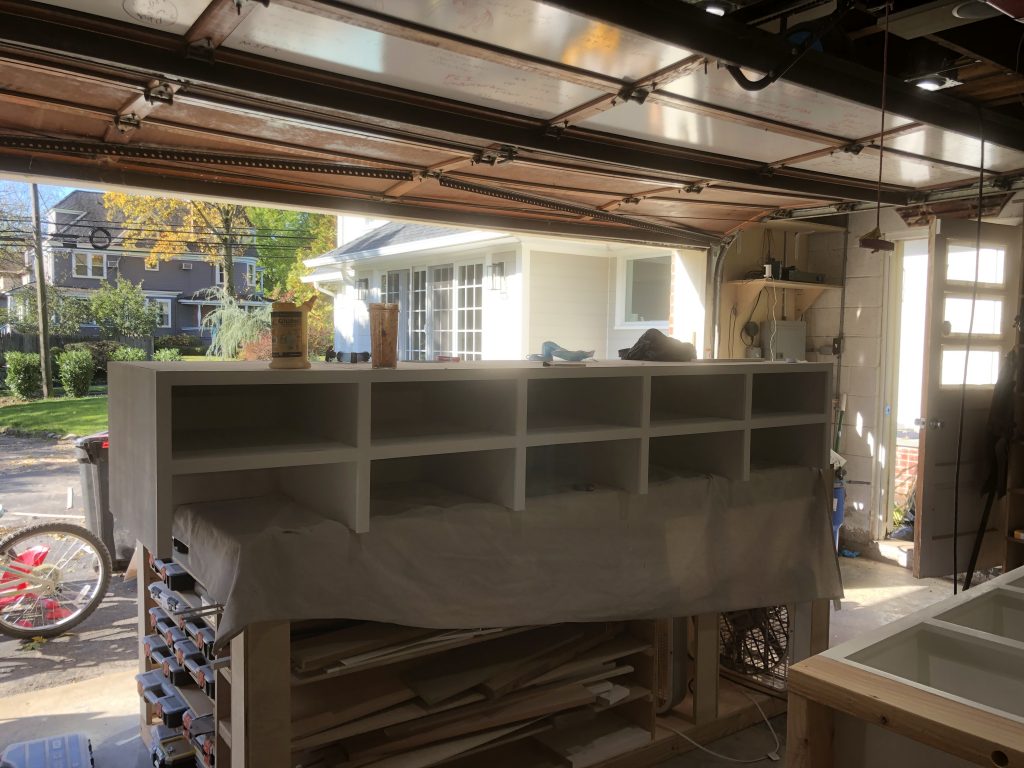
I assembled the top cabinetry inside to make it easier to lift everything up.

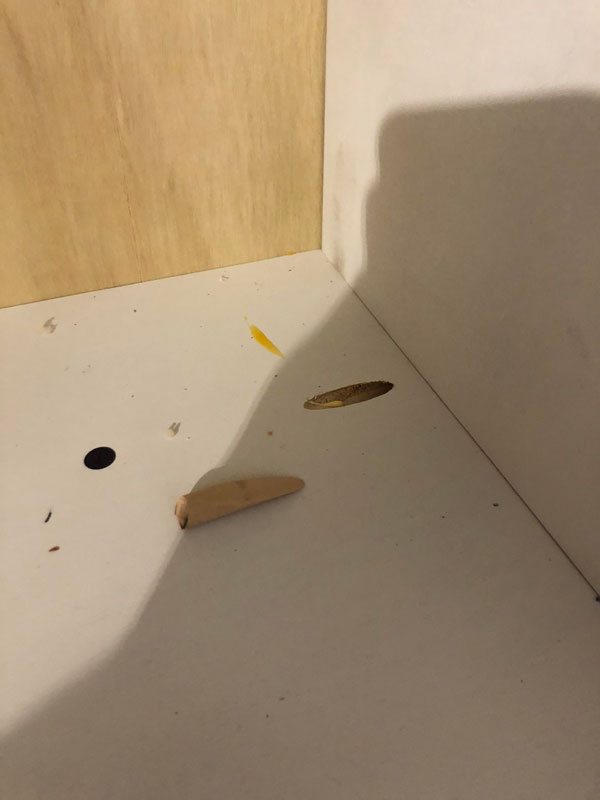
I love pocket hole joinery, but had to hide the screws on the top of the shelf and used Kreg Plugs. I had to cut down the plugs with a flush trim saw and used bondo putty to fill in. It’s great, you can’t see or feel that a hole was there.
I’ve always loved the finishing process and here I did several layers of sanding and putty. Mostly using two-part bondo and 320 grit sandpaper. I highly recommend the Festool ETS 150 with their dust collector. No dust and a super consistent finish.
After sanding 100 grit, then 180, I used Bondo multipurpose putty for extra strength. I also used clamps, a straight edge and bondo to ensure the edges were square.
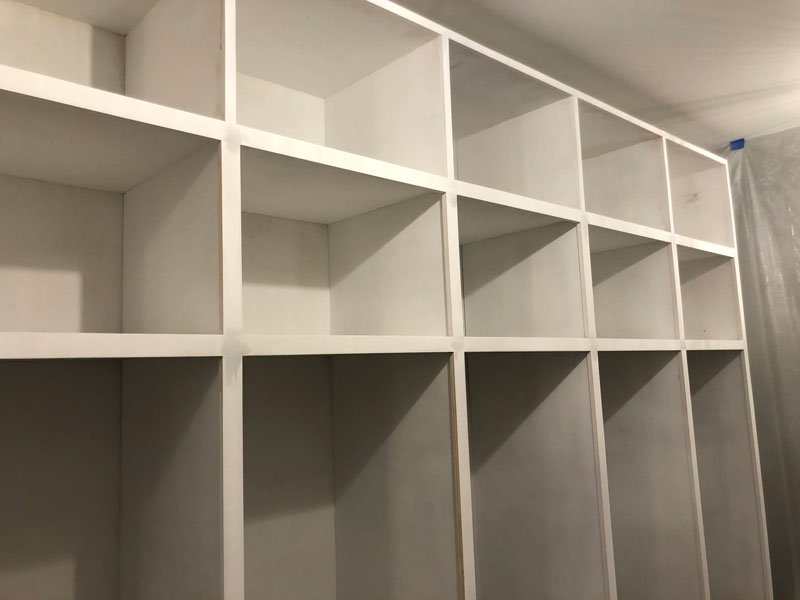
The final product came out better than I expected. I still need to order and install the cabinet doors, but the final product is something I’m proud of.