Making perfect miters is hard and doing the math to get the inner rabbit dimension to add up isn’t easy.
One thing I’ve learned about making stuff is that jigs make life better.
I love making picture frames. Not only do I enjoy saving money, but I love dressing up art. Even a bad piece comes alive in the right frame. The problem is that making perfect miter cuts is hard. I started making frame on my miter saw, but that required a lot of tweaking and adjustment between the cuts.
There are great references online to use sleds to make picture frames. I like this one and the original but I don’t like the idea of a lot of the sled’s weight hanging off the front of the table. I also wanted to leverage the fairly accurate right angle of an aluminum framing square. As long as the blade is straight, the angle will add up to 90 deg, even if my sled is off by a fraction of a degree.
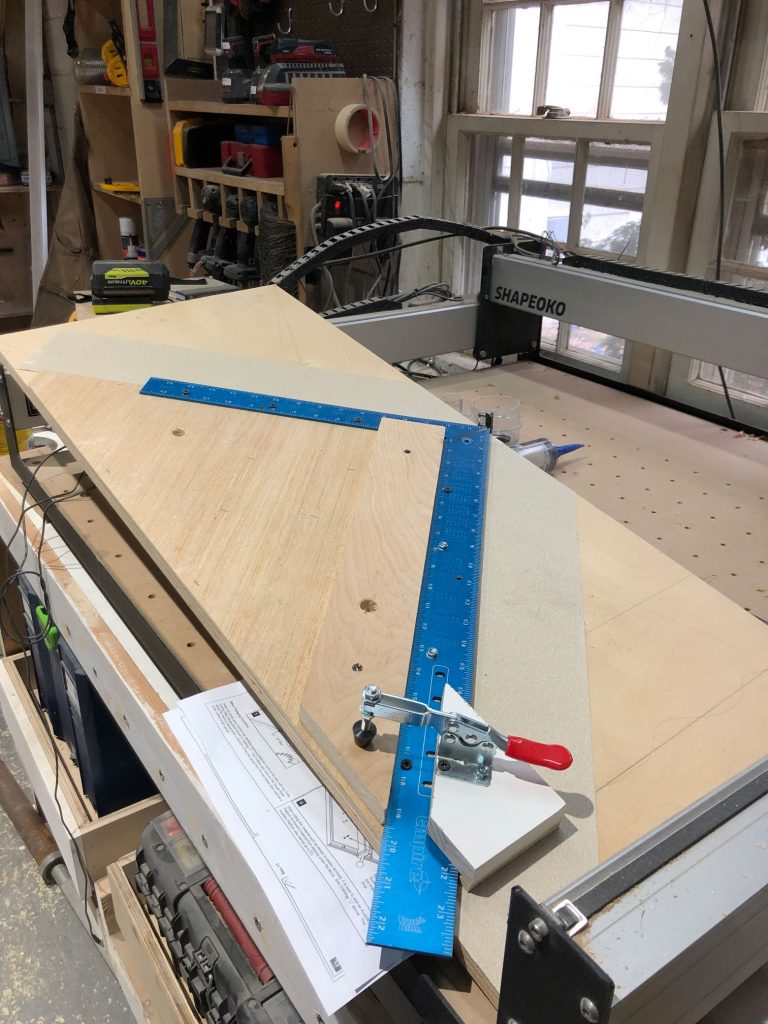
This was designed with two key constraints:
- The two corner pieces must add up to 90°
- each matching side must be the exact same length
This sled covers both of those issues as well as it allows for larger picture frames than a traditional miter sled stop system. Picture frames are not measured by the inside or outside length but by the rabbit so if your artwork or matte is 5×7 we can set the stop to create a frame for that exact size.
To make sure there is no play in the runners for the sled, I used the MicroJig Zero Play Guide bar system that adjusts to fit any table saw.
We have the dewalt dwe7491rs and I’m saving a a link to the manual here.
Some links that helped me:
In my table saw, the miter slots are 3/4 (wide) x 3/8 (deep). Distance from the right edge of the left trench to the left side of the blade is 5 15/16". From left side of the right trench to the right side of the blade is 6 1/8". Using Diablo 60 tooth blade.
Leave a Reply