I needed a torsion table to make sure my Shapeoko XXL had a solid foundation. Dimensions for the Shapeoko are available here. The basic idea of a torsion table is to use two thin layers of material on either side of a lightweight core, usually a grid of beams. Torsion boxes are used in wings and vertical stabilizers. The final product can resist torsion under an applied load. The torsion box uses the properties of its thin surfaces to carry the imposed loads primarily through tension while the close proximity of the enclosed core material compensates for the tendency of the opposite side to buckle under compression.
I found some great data in the links below:
Marc Spagnuolo, a.k.a. “The Wood Whisperer,” put together a pretty comprehensive 20-minute-plus video on how he built his. Spagnuolo shows you how to get past the dilemma of building your first torsion box, which is: how do you construct a perfectly flat surface, before you’ve got a perfectly flat surface to assemble it on?
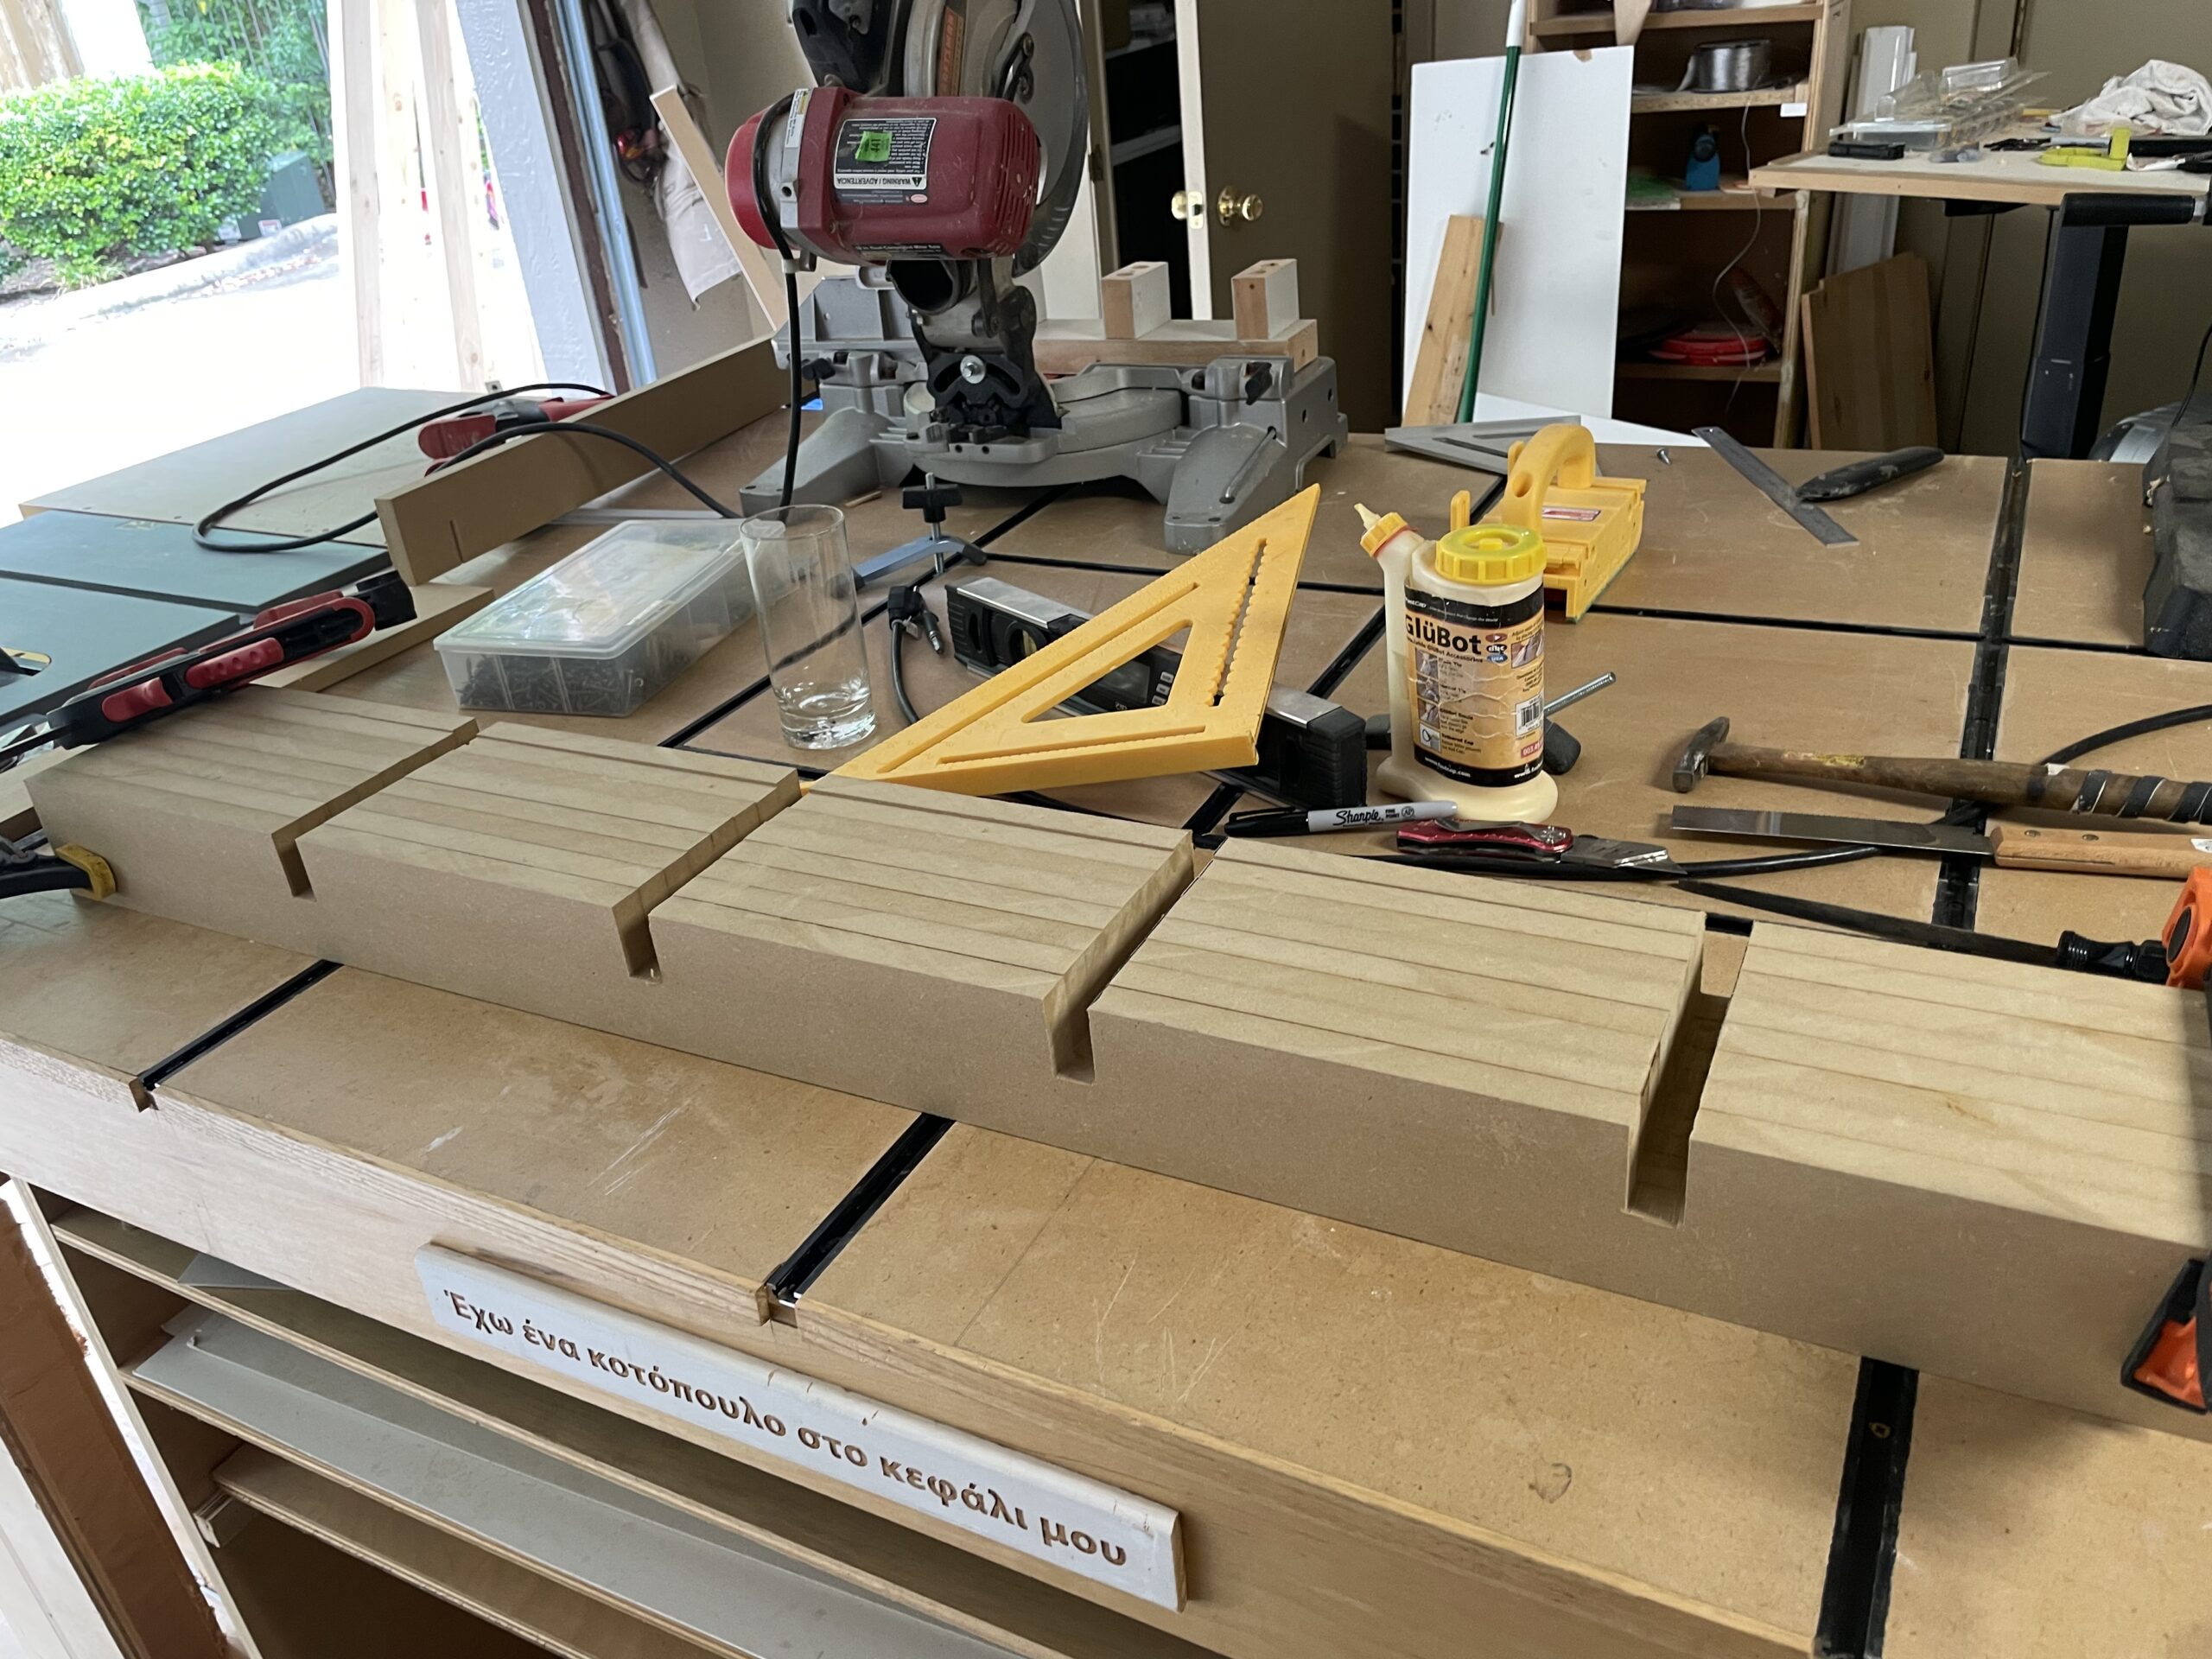
My design was intended to look similar to this, but I didn’t like the idea of making sure all the individual pieces were straight, so I build a design based on half-lap joints.

Lining everything up perfectly was super easy after cutting the slots. MDF is an amazing material.
The end result was intended to look like this by using the Hopkins Mfg Corp Workbench Kit 90158MI.

My end design looked like this (I always use mm for dimensions).
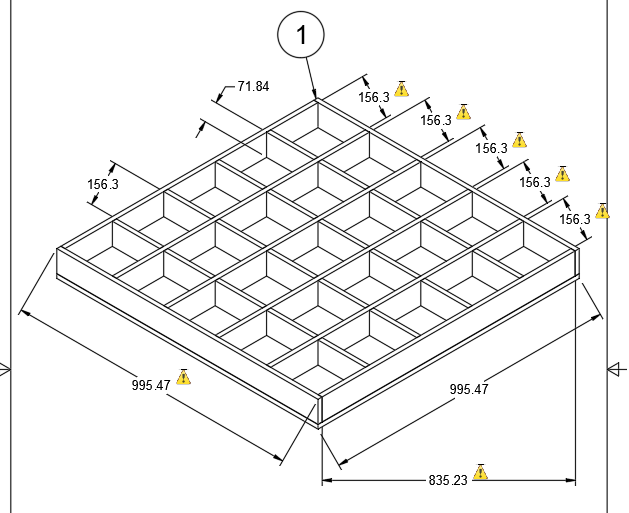
I used my table saw to cut down the core pieces all to the same height. A torsion box is a completely flat, very sturdy and relatively lightweight surface, and anyone designing anything structural and rectilinear should understand its principles. The concept is simple, even if construction can be tedious: Two flat, horizontal surfaces are sandwiched over a grid of crossmembers, and once the sandwich is glued shut, a rigidity much greater than that possessed by the individual parts is achieved.

I added shims to the bottom of the saw horses to make sure the base was level. I used lots of glue.
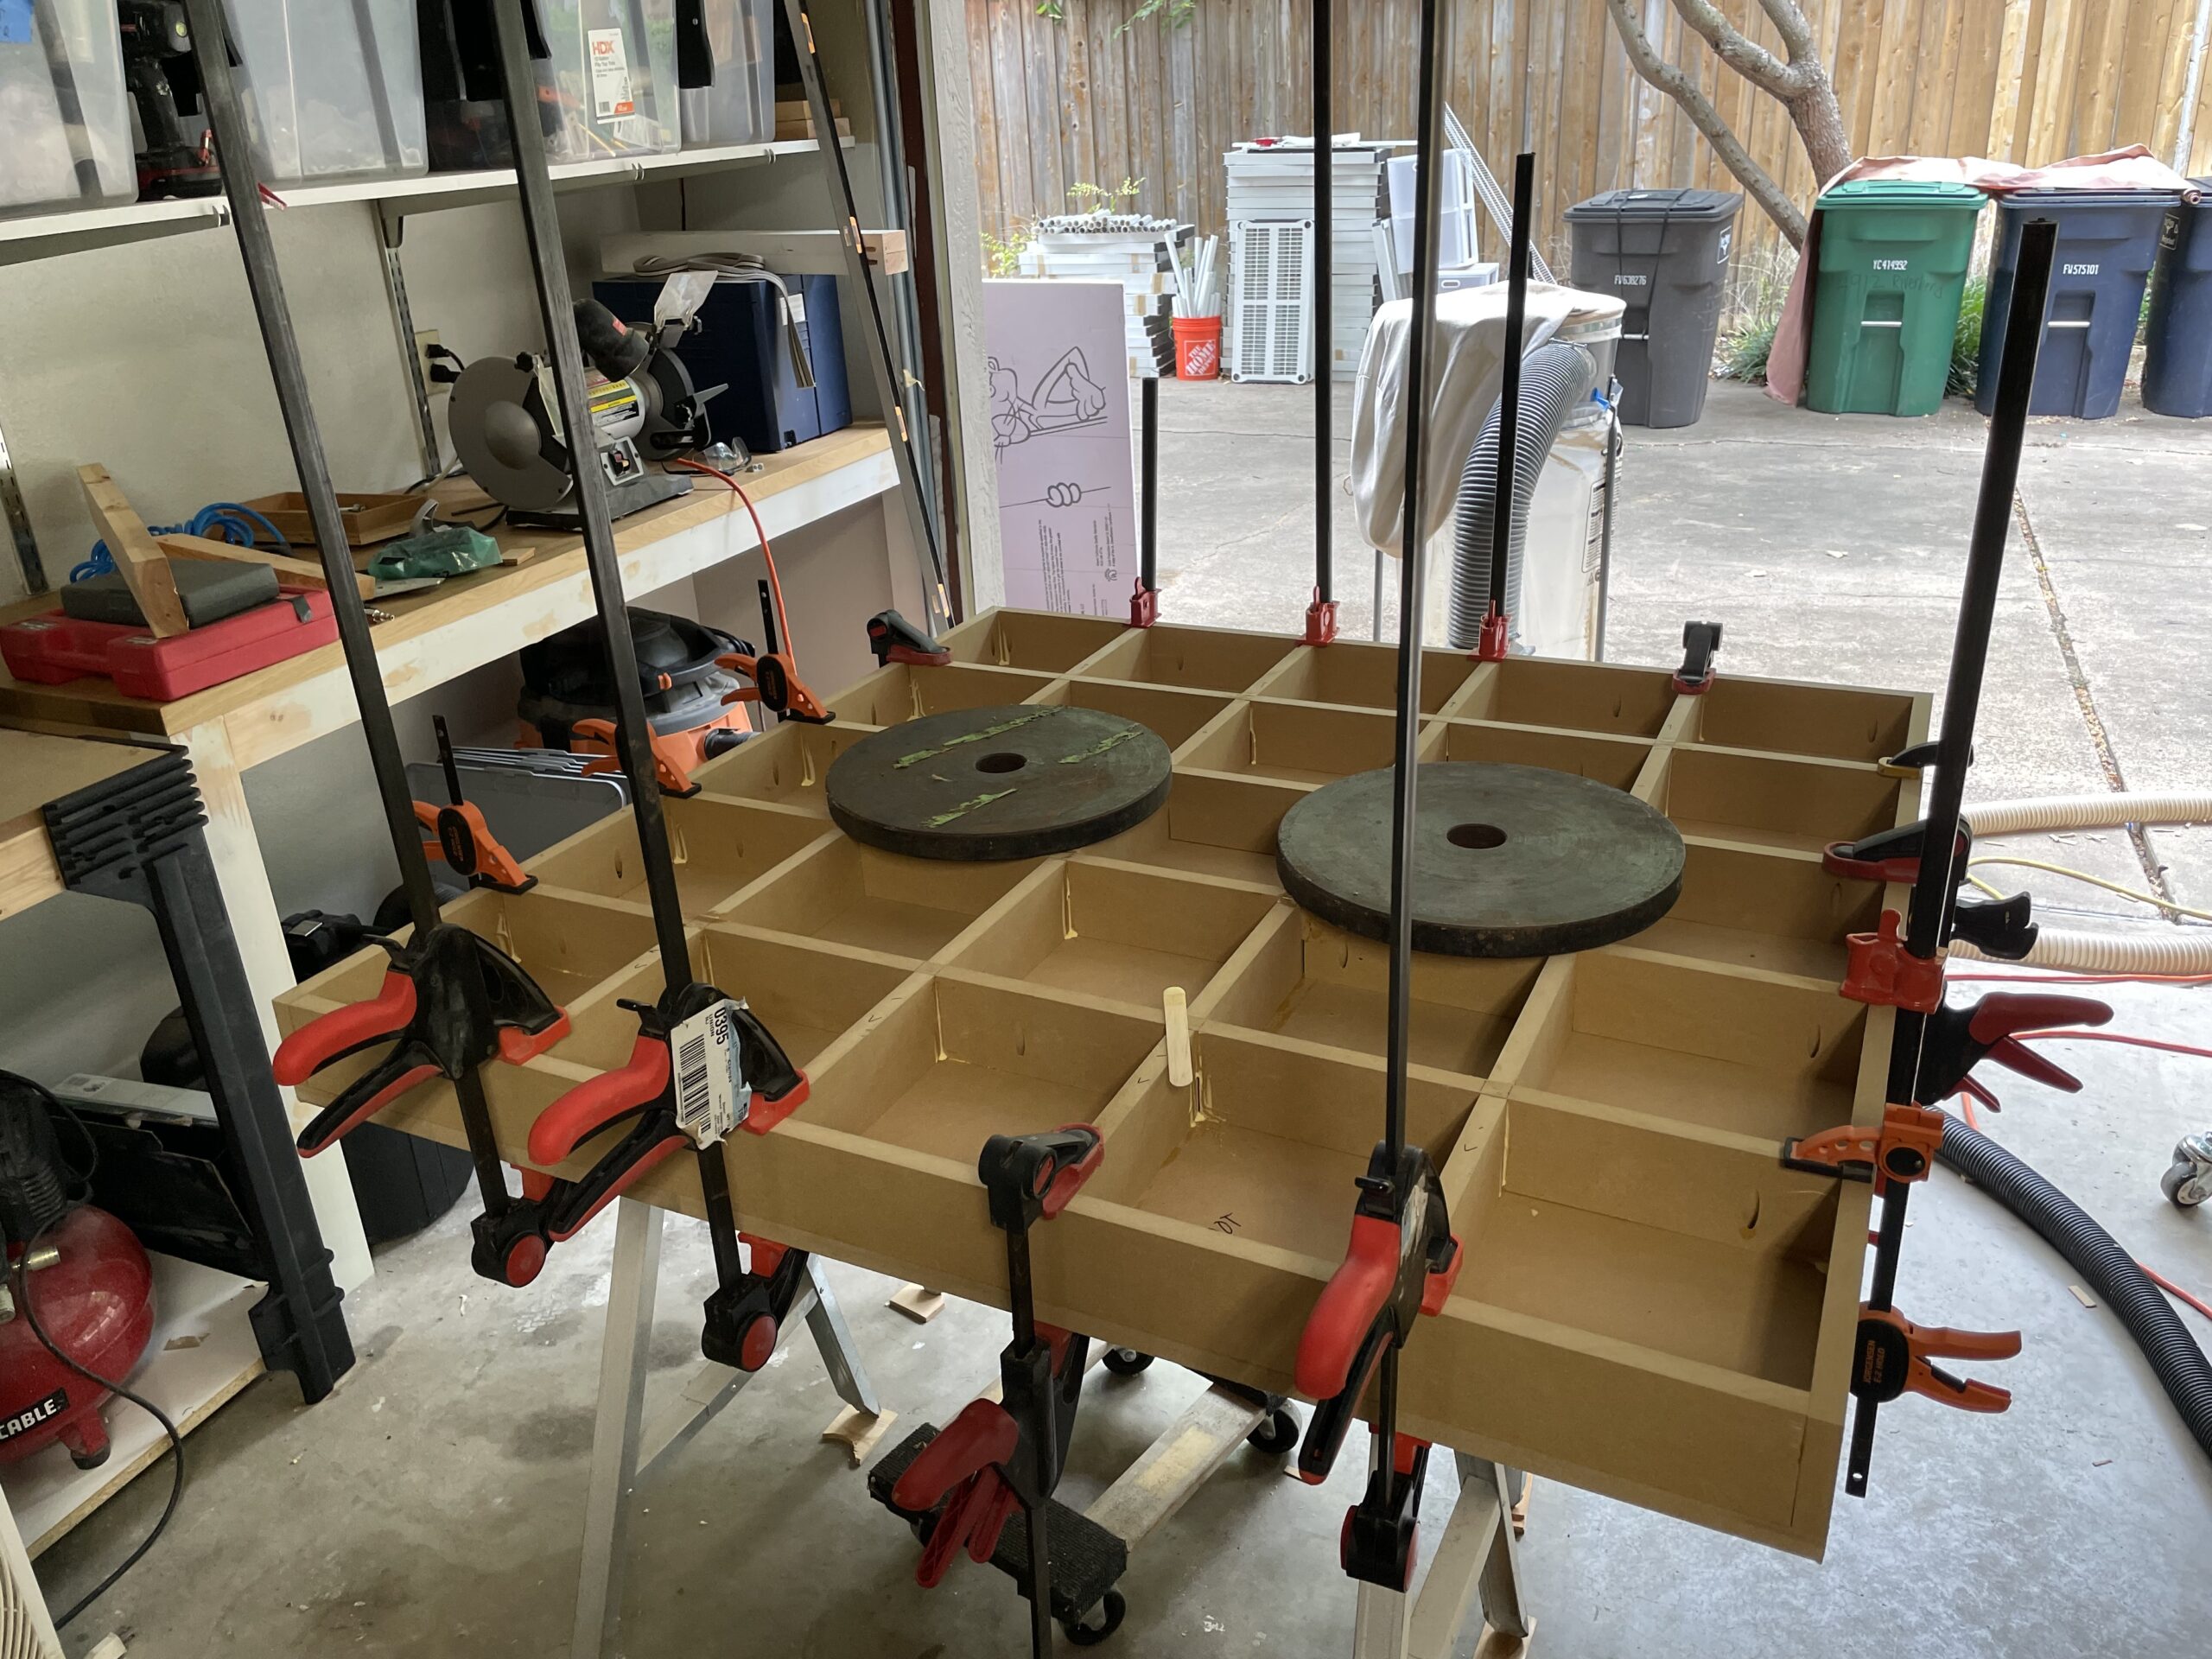
By using half-lap cuts I was able to get all the spacing right. It was critical to square the boards.
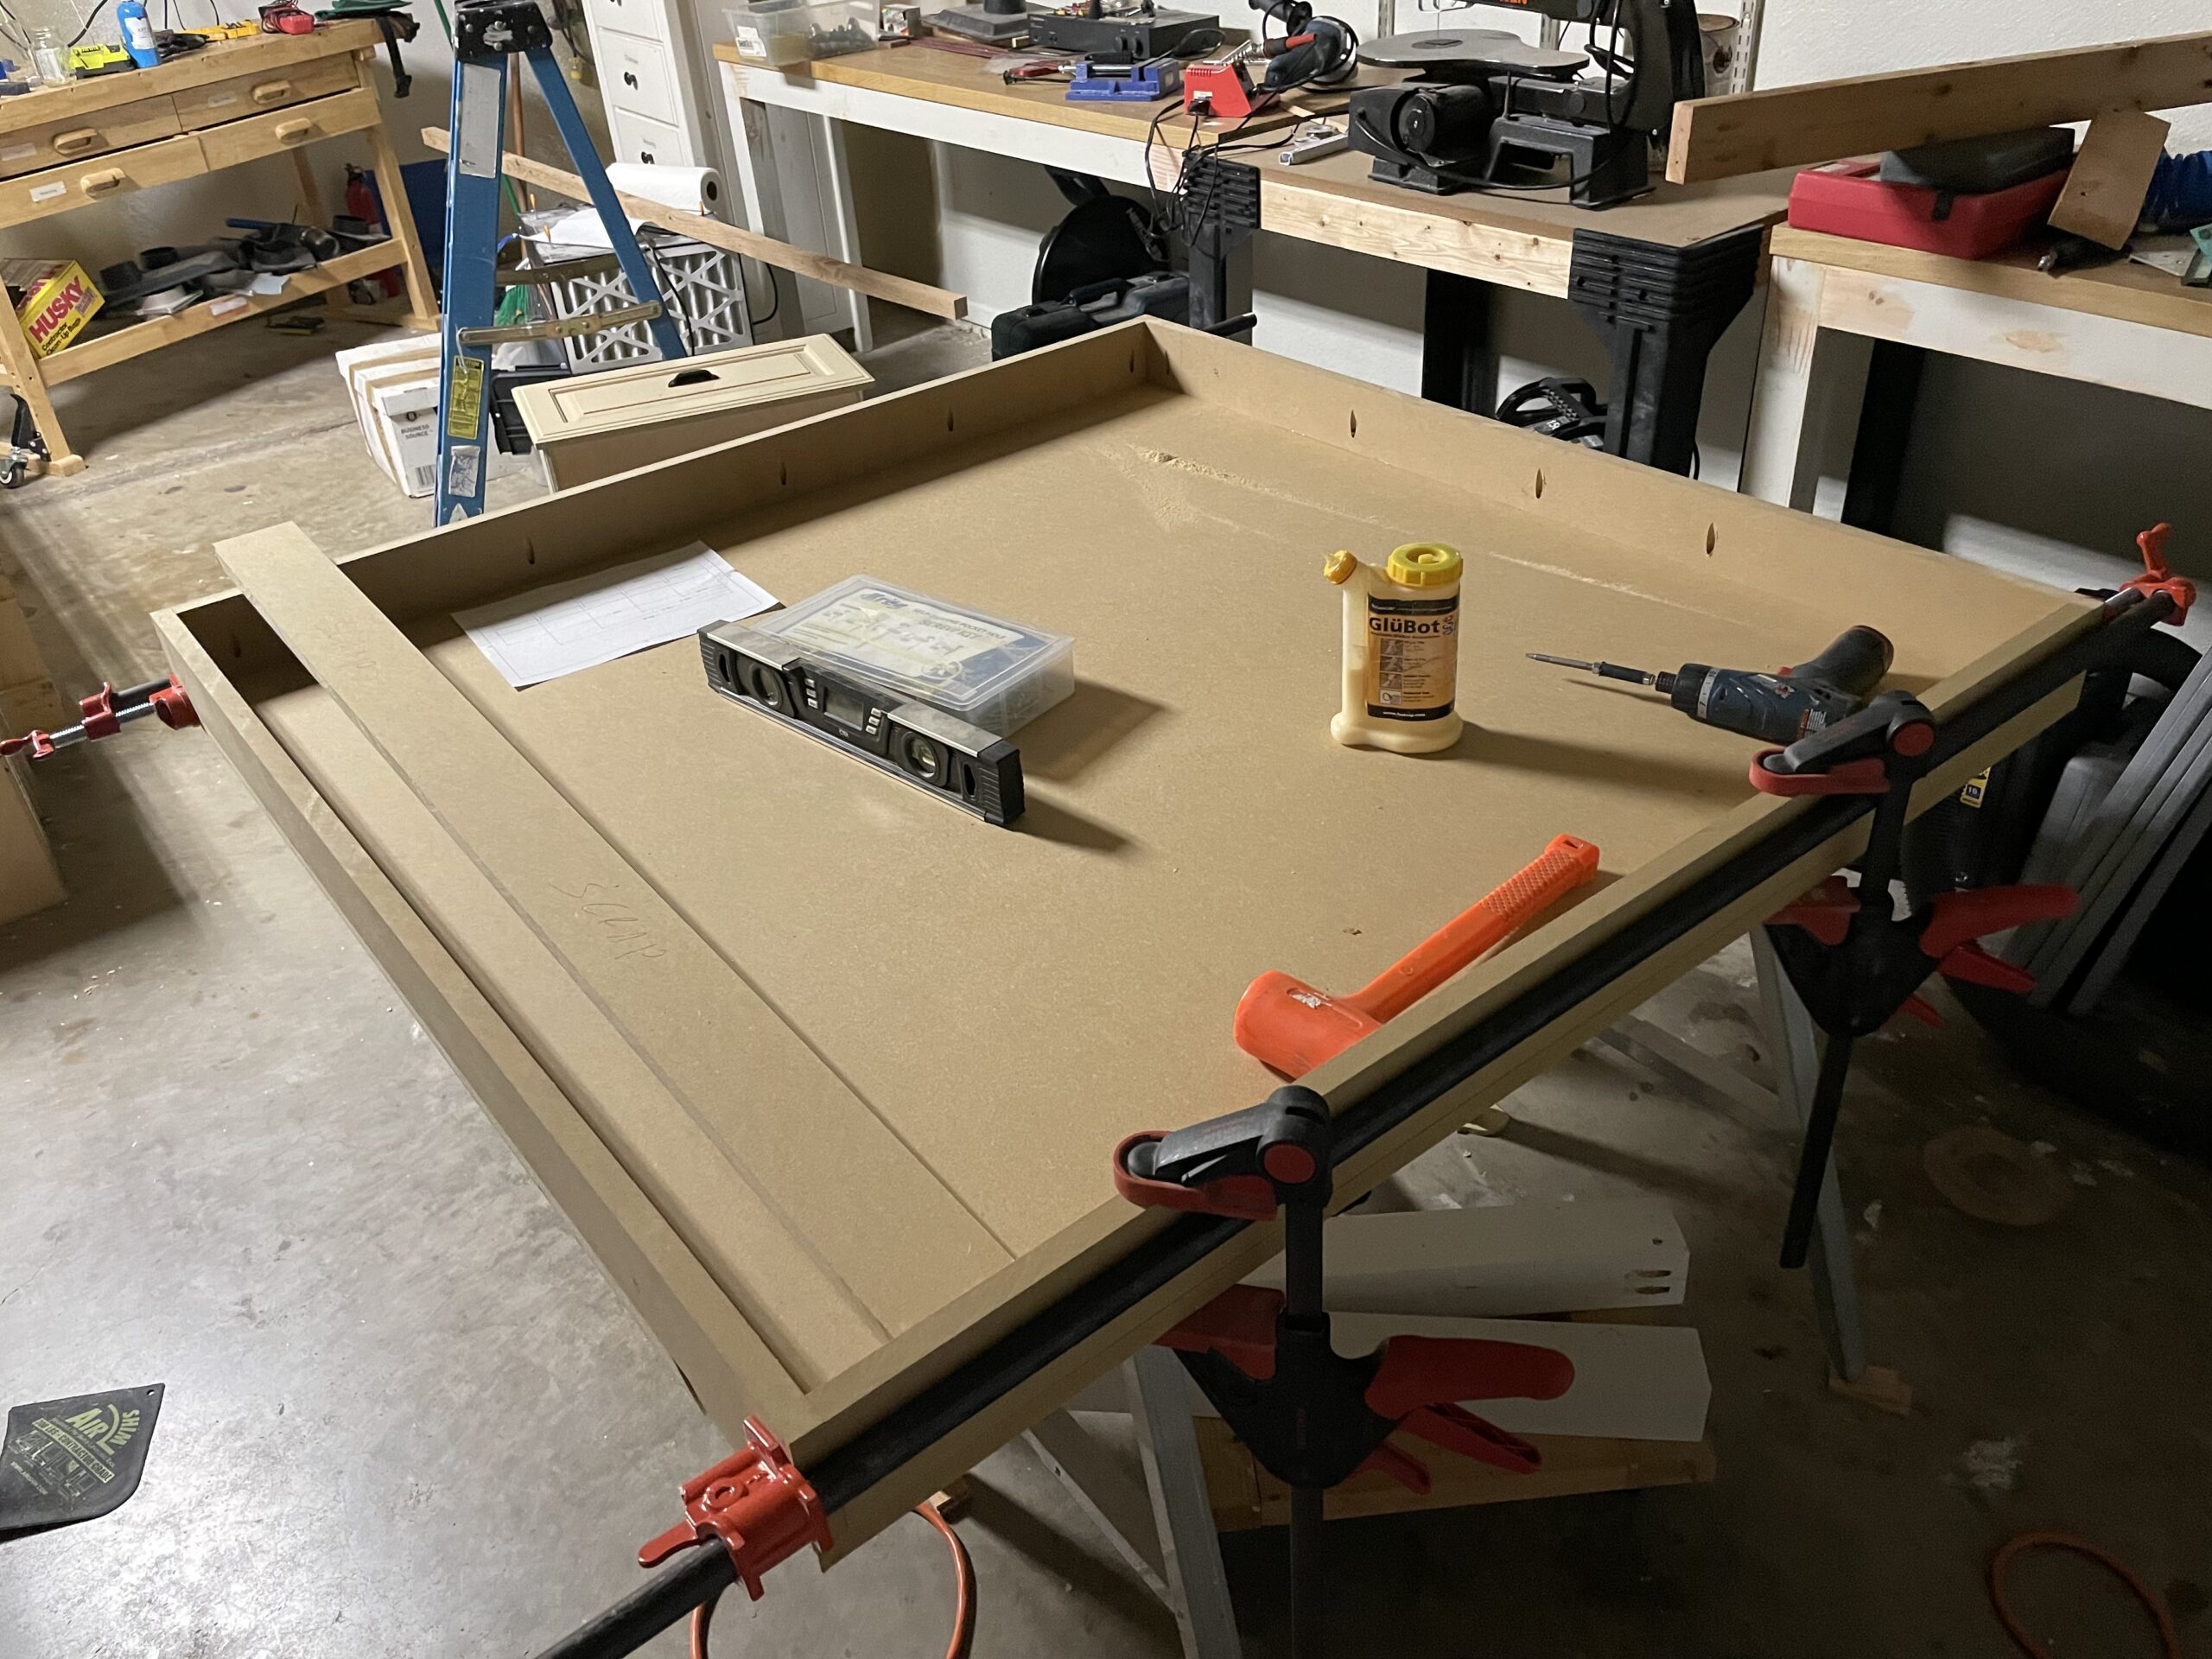
Here you can see my use of pocket screws and my testing of the table to ensure it is level.
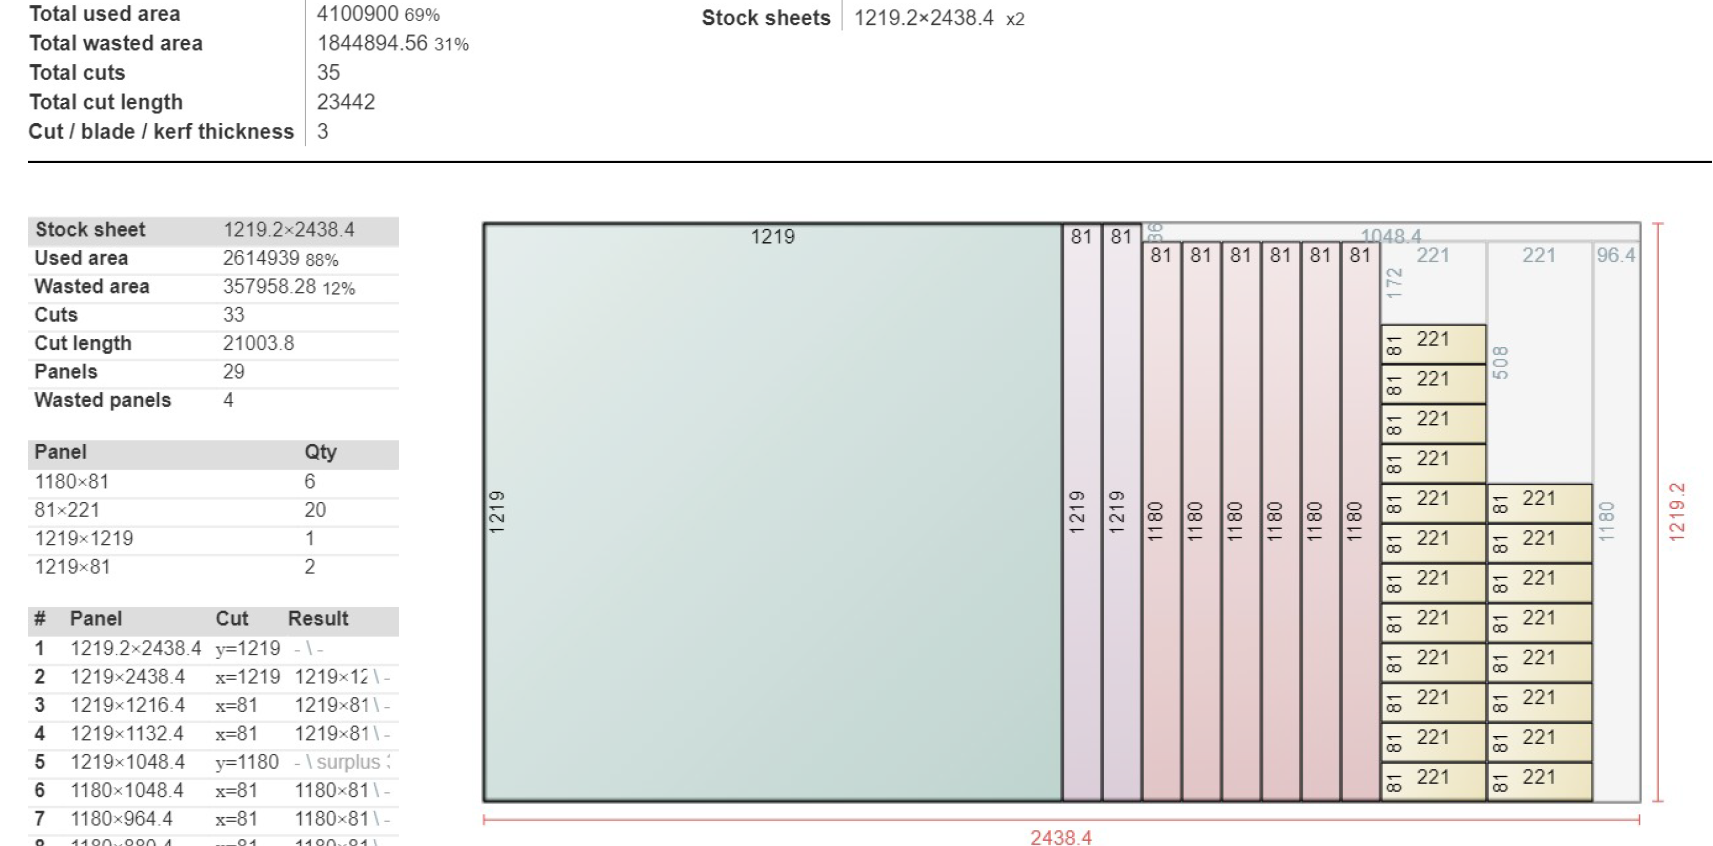
I love using cutlist optimizer to speed up my cuts and optimize the use of the wood. I’ve designed cutting algorithms myself in the past and this online tool is fast, accurate and excellent. (https://www.cutlistoptimizer.com/). I did make a design change by ripping long strips so I could avoid the inaccuracy of all the small cuts.
I made a video of my design process. I made a component with half-laps cut out, replicated it with design tools, flipped a copy that I rotated 90 degrees.