I want my amazon data
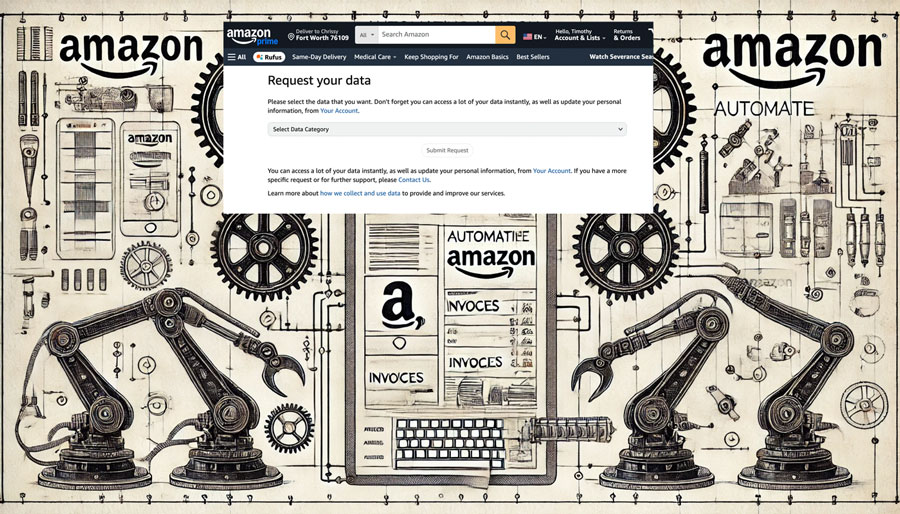
Tracking and categorizing financial transactions can be tedious, especially when it comes to Amazon orders. With Amazon’s new data policies, it’s harder than ever to retrieve detailed purchase information in a usable format. Amazon is so broad that a credit card charge could be for a digital or physical product, a whole foods purchase. The … Read more